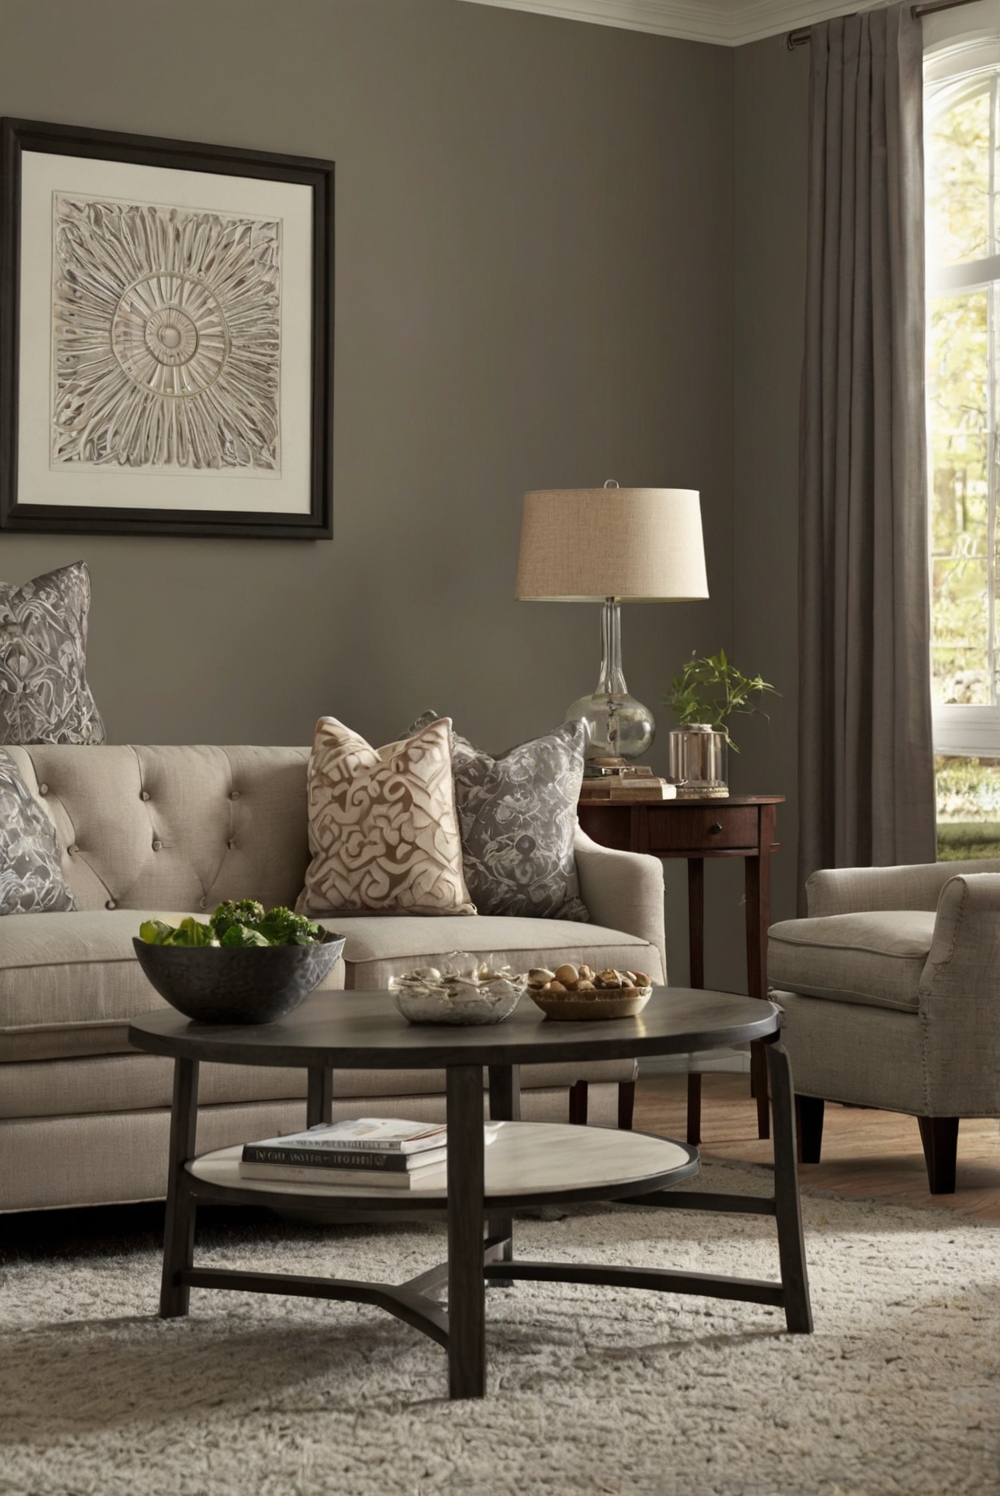
Follow this detailed guide for transforming your living room with a neutral wall color. This step-by-step routine will elevate your interior design skills effortlessly.
A great daily routine for home decorating enthusiasts is to incorporate painting your living room walls a neutral color. Neutral tones provide a timeless and versatile backdrop that complements various decor styles. To start, choose a neutral paint color such as beige, gray, or white that suits your taste and lighting conditions. Ensure proper wall preparation by cleaning, patching any imperfections, and applying a primer. Use high-quality paint and tools for a smooth finish. Make sure to match paint colors correctly and consider natural lighting for accurate color perception. Stay organized by protecting furniture and floors, working in sections, and allowing sufficient drying time between coats. By following these steps, you can transform your living room with a fresh, neutral color palette.
—
Step-by-step guide to painting your living room walls a neutral color:
- Choose a neutral paint color that complements your decor.
- Clean the walls and patch any imperfections.
- Apply a primer for better paint adhesion.
- Use high-quality paint and tools for a smooth finish.
- Match paint colors correctly based on lighting conditions.
- Protect furniture and floors with drop cloths.
- Work in sections to ensure even coverage.
- Allow sufficient drying time between coats.
Choose the Right Shade of Neutral:
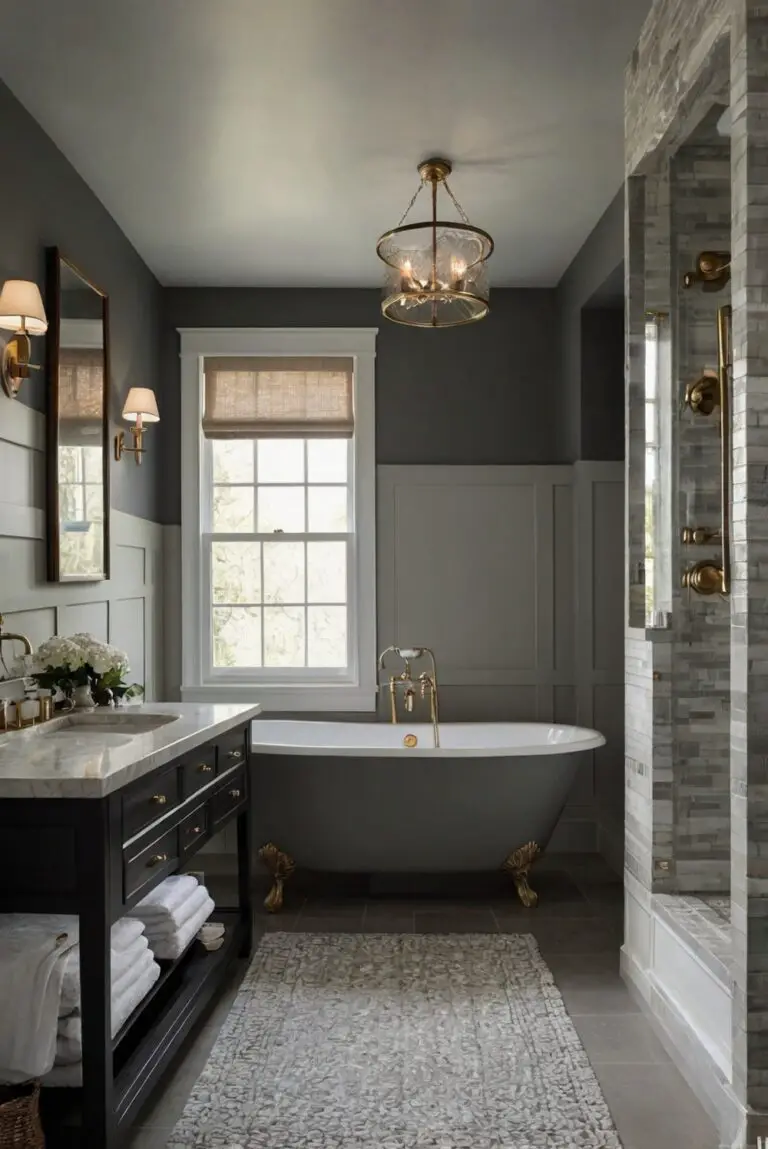
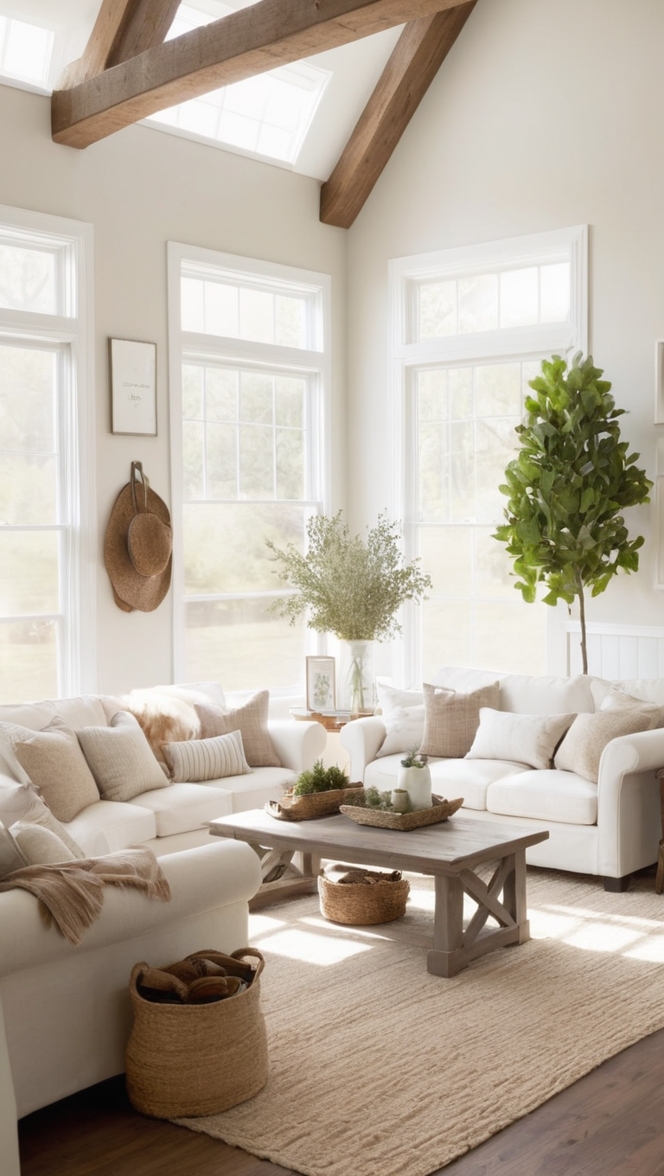
Opt for warm tones like beige or greige for a cozy feel, or cooler tones like white or light gray for a more modern look. When selecting a neutral color for your living room walls, consider the existing decor, natural light in the room, and the atmosphere you want to create. Warm neutrals can add a sense of warmth and coziness, while cooler tones can give a clean and contemporary feel to the space.
Prep Your Walls:
Before painting, it’s essential to prepare your walls properly. Clean the walls thoroughly to remove any dirt, dust, or grease. Patch any holes or imperfections with spackling compound and sand them smooth. Protect your furniture and floors with drop cloths to prevent any paint splatters or spills from damaging your belongings.
Gather Your Supplies:
To paint your living room walls, you’ll need a few essential supplies. Make sure you have the right paint color, brushes for cutting in and detail work, rollers for larger areas, painter’s tape to protect trim and edges, a paint tray for easy rolling, and a ladder to reach high areas safely.
Prime Your Walls:
Using a primer before painting is crucial for achieving a smooth and durable finish. The primer helps the paint adhere better to the walls, covers imperfections, and ensures an even color application. Choose a primer that is suitable for the type of paint you’ll be using (latex or oil-based).
Start Painting:
Begin by cutting in the edges of the walls and around trim and corners with a brush. This technique creates a clean line and makes it easier to paint the larger areas with a roller. Once the edges are done, use a roller to apply paint to the rest of the wall in a smooth, even motion.
Apply Multiple Coats:
For a professional-looking finish, it’s recommended to apply two coats of paint. The first coat will provide a base color, and the second coat will ensure full coverage and depth of color. Allow each coat to dry completely before applying the next one.
Let the Paint Dry:
After painting, allow the walls to dry completely between coats. This drying time ensures that the paint cures properly and prevents smudges or damage. It’s also important to let the paint dry fully before moving furniture back into the room to avoid any marks or scuffs.
Touch Up and Clean Up:
Once the paint is dry, inspect the walls for any missed spots, drips, or imperfections. Touch up these areas as needed for a flawless finish. Clean your brushes, rollers, and other painting supplies promptly to keep them in good condition for future use.
Most Asked Questions:
1. How do I pick the perfect shade of neutral for my living room walls?
When choosing a neutral color for your living room walls, consider the overall style and ambiance you want to achieve. Warm tones like beige, taupe, or greige can create a cozy and inviting atmosphere, perfect for relaxing spaces.
Cooler tones like white, off-white, or light gray can give a modern and fresh look to the room. Take into account the natural light in the room, existing furniture and decor, and personal preferences when selecting the right shade of neutral.
2. Can I paint over dark-colored walls with a light neutral color without a primer?
While it is possible to paint over dark-colored walls with a light neutral color without using a primer, it’s generally recommended to prime the walls first. Priming helps to block any underlying color, ensures better adhesion of the new paint, and results in a more even and true-to-color finish.
Using a primer will also help you achieve the desired shade of neutral without the risk of the old color bleeding through.
3. What tools do I need to paint my living room walls?
To paint your living room walls a neutral color, you will need a variety of tools and supplies. These include paint in your chosen neutral shade, brushes for cutting in and detail work, rollers for larger areas, painter’s tape to protect trim and edges, a paint tray for easy rolling, and a ladder to reach high areas safely.
Having the right tools on hand will ensure a smooth and efficient painting process.
Key Takeaways:
– Choosing the right shade of neutral is essential for creating the desired atmosphere in your living room.
– Properly prepping your walls, gathering the necessary supplies, and using a primer are crucial steps in the painting process.
– Applying multiple coats of paint and allowing sufficient drying time between coats will result in a professional finish.
– Inspect the walls for any touch-ups or imperfections and clean your painting tools promptly after completing the project.
– Enjoy the transformation of your living space with freshly painted neutral walls.